Planning your MVP7 min read
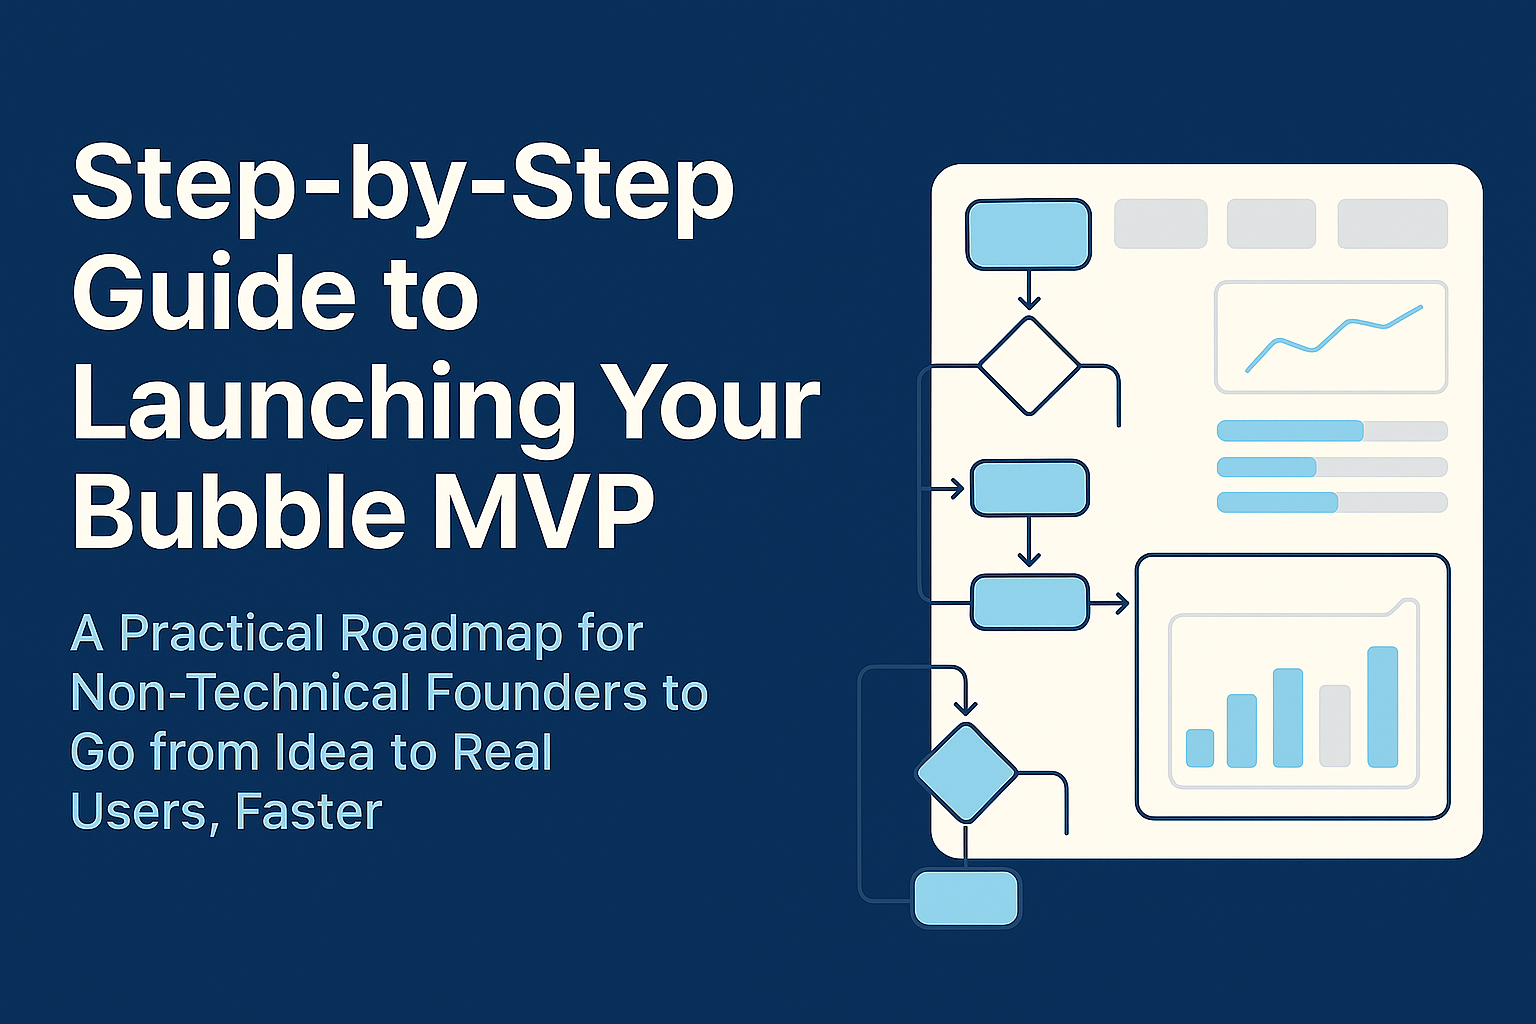
Step-by-Step Guide to Launching Your Bubble MVP
A Practical Roadmap for Non-Technical Founders to Go from Idea to Real Users, Fast

Key takeaways
- You need real-world proof that you're solving a meaningful problem and that people care enough about it to take action.
- Once you’ve validated your idea, it’s time to decide what your MVP will actually include.
- When you start building your MVP in Bubble, you’ll want to make sure the app is fast and stable.
- Once your MVP is built, you need a way to see how users interact with it.
When you're getting ready to launch your MVP, the most important thing is to get a working product in front of real users as quickly as possible.
This guide gives you a full roadmap to help you do that the right way, even if you're not technical.
We'll cover the key steps to take before, during, and after your MVP launch so you can avoid common mistakes and actually make progress.
1. Validate Before You Build
Do not skip this step!
You need real-world proof that you're solving a meaningful problem and that people care enough about it to take action. That’s where validation comes in.
The first thing you should do is research your market. Spend time in Reddit threads, Facebook groups, and YouTube comments where your potential users are already active.
Look through review platforms like G2 and Capterra to see what people say about existing tools in your space. Focus on the 3-star and 4-star reviews. These are gold because they come from users who are engaged, but still frustrated. They’re using the tool, but something’s missing or not quite right.
From that research, start identifying common problems.
Write them down and look for patterns. When several people are complaining about the same issue, that’s a strong signal for a core problem your MVP can solve.
Once the problem is clear, you’re ready to build a simple landing page.
It doesn’t need to be complicated. In fact, the simpler, the better. Use tools like Carrd or Bubble itself to create a one-page site that clearly explains what your app does and why it matters. Add a short headline, a few benefit points, and a form for people to join a waitlist.
You don’t need a working product at this point. Just build a mockup or wireframe in Canva or Figma to show what your app will look like.
After your landing page is live, you need to drive traffic to it.
Share it in the communities you researched earlier. Don’t just drop a link. Start real conversations. Explain what you’re working on and ask for feedback. Personalize your posts and messages whenever possible.
If you want to speed things up, you can run small paid ads. Spend $5 a day on Facebook or Instagram to see if a few people will join the waitlist.
Start collecting feedback from everyone who visits your page or joins the waitlist. Send a quick thank-you email and ask them what problem they’re trying to solve. The goal is to understand what they need and if your solution makes sense for them.
Use Hotjar heatmaps to see how users interact with your landing page. You can also A/B test two different ideas or versions of the app by changing your messaging or visuals and comparing which version performs better.
Once you’ve gone through the research, defined the core problem, built a landing page, collected feedback, and tracked interest, you’ll be in a strong position to make a decision.
If people are engaging with your app idea, you have validated the app and you’re ready to build. If not, you’ve saved yourself time and money, and you can go back and adjust the app idea or features before committing to development.
For a more detailed breakdown of this validation process, check out the full guide at https://boostercartel.com/article/how-to-validate-your-bubble-app-idea
2. Define a MVP Feature List
Once you’ve validated your idea, it’s time to decide what your MVP will actually include. The key is to keep the first version of your app as lean as possible. Your MVP isn’t supposed to be a full product. It’s a starting point that helps you solve a very specific problem for a very specific user.
Use everything you learned during validation to help shape this feature list. Feedback from early users will tell you what matters most. Don’t build based on assumptions. Build based on what people are actually saying.
If you want the exact ChatGPT prompts that I use to generate a completely defined MVP feature list for my clients, go to the Create Your MVP Feature List section in this guide: https://boostercartel.com/idea-generation-guide
3. Build for Stability and Speed
When you start building your MVP in Bubble, you’ll want to make sure the app is fast and stable. Even if it’s just a simple product, performance matters. A slow, buggy app will hurt your launch, even if the idea is good.
Start by breaking your app into reusable elements. Instead of cramming everything onto one big page, create smaller components that you can use in multiple places. This keeps your app easier to manage and faster to load.
Next, pay attention to your database searches. Only load the data you need. If you’re showing a list of users, don’t load their entire profile details unless you need them.
Split up pages that have lots of logic or inputs. When everything is on one screen, it’s more likely to break or slow down.
Finally, don’t forget about compliance. Just because Bubble hosts your app doesn’t mean you can ignore things like privacy. Add a basic privacy policy and terms of use. If you’re collecting emails, make sure you have proper opt-ins and explain what you’ll be sending.
4. Instrument Analytics and Feedback
Once your MVP is built, you need a way to see how users interact with it. This helps you learn what’s working and what’s not.
Start with Hotjar. This tool gives you heatmaps and session recordings that let you watch how people use your app. You’ll see where they click, how far they scroll, and where they get stuck.
OpenWidget is another great tool. It lets you add FAQs, quick support links, and email collection forms right inside your app. If someone has a question, they don’t have to email you. They can just type it in.
Google Analytics shows you how many people are visiting your app, where they come from, and what pages they view. This helps you understand which marketing efforts are working.
Zapier is perfect for automating simple tasks. You can use it to send welcome emails, store signups in Google Sheets, or notify you when someone submits a form. The free plan is typically enough to start.
For more advanced testing, PostHog gives you A/B testing and deeper user analytics. It takes more setup, but it’s worth it if you want to experiment and optimize your user flow.
You can watch a full breakdown of these tools here: https://www.youtube.com/watch?v=cpJqZ8H_gN8&t
5. Price and Monetize Your MVP
You don’t need a full payment system on day one, but it’s smart to think about how you’ll eventually charge for your app. Even if you start with a free beta, you should know what pricing model makes sense.
Start simple. You can offer a flat monthly fee, a free tier with a paid upgrade, or usage-based pricing. The important thing is to pick something that matches your app’s value.
Bubble makes it easy to add basic Stripe pricing logic. You can show different pages or features depending on the user’s plan.
The simplest place to start is to look at how your competition is monetizing their app and use that as a starting point for your pricing.
6. Warm Up an Audience Before Launch
Launching to an empty room is one of the most frustrating things that can happen. That’s why you should start warming up your audience early.
Begin by sharing what you’re building in the communities you already researched. These are people who are already interested in the problem you’re solving. Post progress updates once or twice a week on LinkedIn or Twitter. Talk about features you’re adding, challenges you’re working through, or feedback you’ve received.
Use screenshots, short Loom videos, or quick before-and-after images to show progress. Repurpose content from your landing page or early validation work to create these updates quickly.
Send updates to your waitlist. These can be short and casual. A quick “here’s what we built this week” email helps keep people excited and engaged.
Reach out to early signups and offer early access. Ask them to test new features and give feedback. Not everyone will say yes, but the ones who do can become your strongest advocates.
7. Execute Launch Week
The final stretch. Launch week is all about execution. By now, the core features of your app should be stable, your audience should be warmed up, and your launch plan should be in place.
A few days before launch, stop adding new features. Use this time to test and polish what you’ve built. Go through every page, button, and form. Make sure everything works on several different screen sizes and devices.
Set up alerts so you know when someone signs up, runs into an error, or completes a key action.
Send a launch email to your waitlist. Make it simple: what the app does, what’s new, and how to get started. Then post on your social channels and in the communities where you validated the idea.
The goal is not perfection. It’s about creating momentum. You want real users inside the app so you can learn, improve, and grow.
8. Capture and Act on Feedback
Now that your app is live, your job is to listen and iterate. Check your analytics daily. Look for patterns in where users drop off or where they get stuck.
Watch Hotjar recordings to spot usability issues. Respond to every live chat message. These conversations often reveal things you’d never catch on your own.
Keep a running list of feedback and revisions. You can use a Notion board or Google Sheets to group similar requests together and track how often they come up.
If you’re able to, publish a public roadmap. Show users what you’re working on next and let them vote or comment.
Release small updates every week or two. This shows users that you’re listening and helps you stay on track without overcomplicating things.
If you need help with any part of this process, whether it's validation, MVP planning, or design and development, you can book a free strategy session at https://boostercartel.com/strategy
We’ll walk through your idea, help you scope the MVP properly, and make sure you have a clear, affordable path to launch.
Let’s get your app out to the world.
Cheers,
Alex